【Home Assistant(Hass.io)】
カメラ画像をポップアップ表示する
「Home Assistant(Hass.io)でホームオートメーション 再起動!」シリーズです。
tp-link/Tapo C200/C210のカメラ画像をHome Assistantで扱えるようにしました。モーション検知による防犯設定はともかく「間取り図をタップすると画像を見る」ぐらいは組み込んで一区切りとしたいですね。
「防犯設定は『ともかく』」で良いのか…当初の目的は何だったのか?!とか、「組み込んで『一区切り』にしたい」って何、とか色々とツッコミはあるかもしれませんが。一歩一歩進んでいきましょう。
参考:tp-link/Tapo C200の記事はこちら
maky-ba.hatenablog.com
参考:tp-link/Tapo C210の記事はこちら
maky-ba.hatenablog.com
| この記事の前提条件 | |
|---|---|
| Home Assistant | 2023.6.2 |
| HassOS | 10.2 |
| Server | Raspberry Pi 4(4GB) |
上記バージョンを前提とした手順です。 (最新版では動かないこともあるかもしれませんが、私が使っている限り、備忘録を兼ねて最新化してゆきたいとは思っています)
1. Browser Mod導入
間取り図のアイコン(例えば下図、玄関のカメラアイコン)をクリックしたらカメラ動画を表示するのは比較的簡単。下記のような設定をダッシュボード*1の設定に記載してあげれば実現できます。
 ⇒
⇒ 
こんな感じです。アイコンをクリックすると、設定されたビデオストリームが表示されます。
type: picture-elements
elements:
(中略)
  - type: image
    title: 監視カメラ
    entity: camera.tapo_c210_01_hd_stream
    image: /local/floorplan/icons/cctv_36pt.png
    style:
      top: 40%
      left: 52%
      transform: translate(-50%, -50%) scale(1.25, 1.25)
(後略)
ただ折角パンチルト機能付きカメラなので、以前設定したような操作ボタン付きの画面をポップアップさせたい!と思うと標準のダッシュボードの機能ではちと難しかったりします。そこで、任意のカードのポップアップ表示が可能になる「Browser Mod」をHACSから導入してゆきましょう。
- HACSのIntegrationsから「Broser_mod」を検索しダウンロード

- 左のメニューで「Browser Mod」を選ぶとBrowser Mod Settingに入ります。今使っているブラウザを識別してBrowser ID欄に表示するので、これをわかりやすいのに変更します(ここではどこかの動画にならって仮に「My Desktop PC Browser」としてみました)。

- その下に三角にビックリマークで「Auto closing connection」の項があり、いわくBrowser Modの動作に不都合が出たら「5分間何もしないと接続を切る」設定を切れ、とのこと。で、その設定「Profile Setting」はどこかというと、ここ。

これでBrowser mod(より正確には、Browser mod 2)が使えるようになりました。
2. 間取り図からポップアップ
まずは準備です。アイコン関係から。
- カメラ動画が有効(Privacy_modがoff)の時のアイコンとカメラ動画が無効(Privacy_modeがon)の時のアイコンをMaterial Design Iconのサイトからダウンロードしておく。色目とか大きさとか調整できるサイトが多いので、必要に応じてそこらへんは適当に。
- ダウンロードしたアイコン画像を、いつもの如く
/local/floorplan/iconsにアップロードしておく
私は、cctv cctv-off webcam webcam-offあたりを使いました。
でもって、あとに記載のコードをダッシュボードに書けば、こんな感じになります。
⇒

おお、ポップアップ上でカメラの操作が可能に!!
type: picture-elements
elements:
(中略)
  - type: image
    title: 監視カメラ
    entity: switch.tapo_c210_01_privacy
    state_image:
      'on': /local/floorplan/icons/cctv-off_36pt.png
      'off': /local/floorplan/icons/cctv_36pt.png
    style:
      top: 40%
      left: 52%
      transform: translate(-50%, -50%) scale(1.25, 1.25)
    tap_action:
      action: fire-dom-event
      browser_mod:
        service: browser_mod.popup
        data:
          title: Tapo C210 HD Stream
          content:
            type: picture-elements
            image: camera.tapo_c210_01_hd_stream
            camera_image: camera.tapo_c210_01_hd_stream
            camera_view: live
            elements:
              - type: icon
                icon: mdi:arrow-left-drop-circle-outline
                tap_action:
                  action: call-service
                  service: button.press
                  service_data:
                    entity_id: button.tapo_c210_01_move_left
                style:
                  bottom: 50%
                  left: 5%
                  color: white
                  transform: translate(-50%, -50%) scale(2, 2)
              - type: icon
                icon: mdi:arrow-right-drop-circle-outline
                tap_action:
                  action: call-service
                  service: button.press
                  service_data:
                    entity_id: button.tapo_c210_01_move_right
                style:
                  bottom: 50%
                  left: 95%
                  color: white
                  transform: translate(-50%, -50%) scale(2, 2)
              - type: icon
                icon: mdi:arrow-up-drop-circle-outline
                tap_action:
                  action: call-service
                  service: button.press
                  service_data:
                    entity_id: button.tapo_c210_01_move_up
                style:
                  top: 10%
                  left: 50%
                  color: white
                  transform: translate(-50%, -50%) scale(2, 2)
              - type: icon
                icon: mdi:arrow-down-drop-circle-outline
                tap_action:
                  action: call-service
                  service: button.press
                  service_data:
                    entity_id: button.tapo_c210_01_move_down
                style:
                  top: 90%
                  left: 50%
                  color: white
                  transform: translate(-50%, -50%) scale(2, 2)
              - type: icon
                icon: mdi:home-outline
                tap_action:
                  action: call-service
                  service: select.select_option
                  data:
                    option: home
                  target:
                    entity_id: select.tapo_c210_01_move_to_preset
                style:
                  top: 90%
                  left: 10%
                  color: white
                  transform: translate(-50%, -50%) scale(2, 2)
              - type: icon
                icon: mdi:eye-off-outline
                tap_action:
                  action: call-service
                  service: select.select_option
                  data:
                    option: privacy_mode
                  target:
                    entity_id: select.tapo_c210_01_move_to_preset
                style:
                  top: 90%
                  left: 90%
                  color: white
                  transform: translate(-50%, -50%) scale(2, 2)
(後略)
ちなみにこの設定の前の方で`entity: switch_C210_01_privacy‘としているので、長押しするとprivacy_modeのオン・オフスイッチが表示されますよ。
3. おわりに
これでまあ、間取り図から監視用のカメラ動画をどこからでも確認することが出来るようになりました。
次は防犯設定ですが、やはり「警戒モード」に入る、とかを能動的に行うようにしないと駄目ですよね。そもそもダッシュボードには「Alarm panel」というのもあったりしますし。
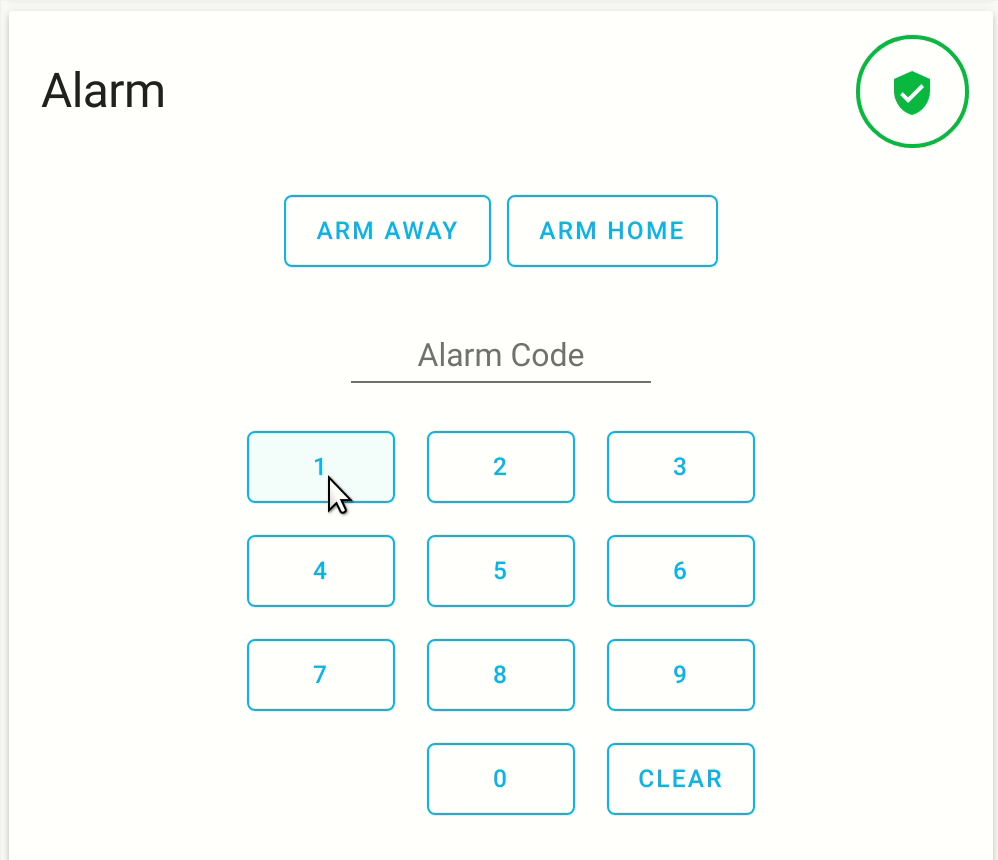
(from Home Assistant HP)
ううむ。よく考えないと。